How is the 3Dvarius made?
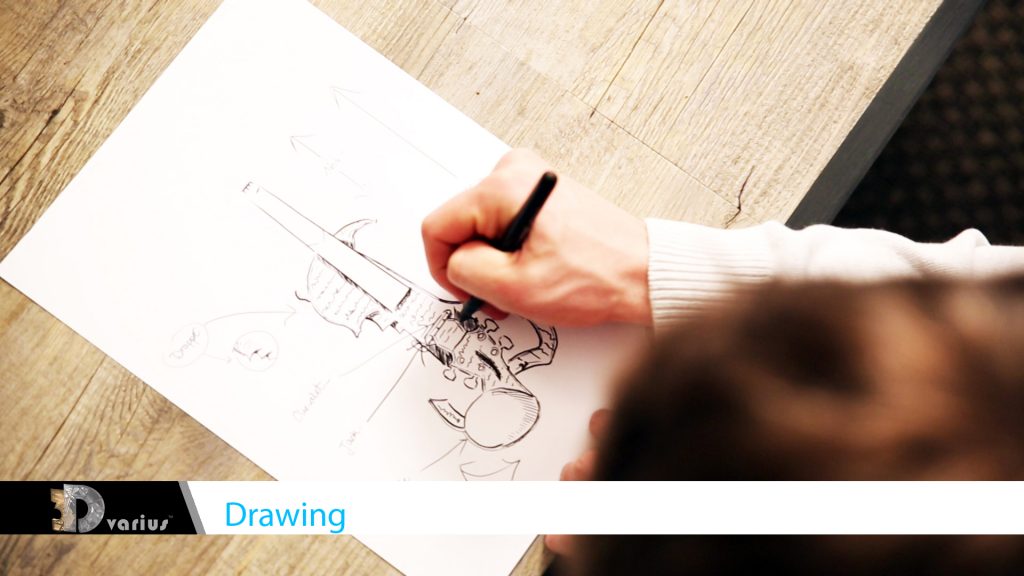
Design
The 3Dvarius design required various steps. Few steps will be added in case of morphologic adaptation and personalization:
- Mass optimization, to keep the structure light and to free the musician’s movements
- Acoustic study and wave propagation optimization throughout the body of the instrument
- Mechanical resistance studies to ensure proper resistance to the strings’ pressure
- Morphologic adaptation
If you would one customized 3Dvarius, we’ll update the 3D file in function of your needs and wishes.
How was the 3Dvarius project born?
3D-printing
Our choice of 3d-printing technology is stereolithography* (or SLA) because of its exceptional printing definition and the resistance of its printed objects.
We use professional 3D-printers to create the 3Dvarius to get beautiful design with an extreme precision.

*Stereolithography is a 3D printing technology used for producing models, prototypes, patterns, and production parts up one layer at a time by curing a photo-reactive resin with a UV laser or another similar power source.
Post-printing treatments
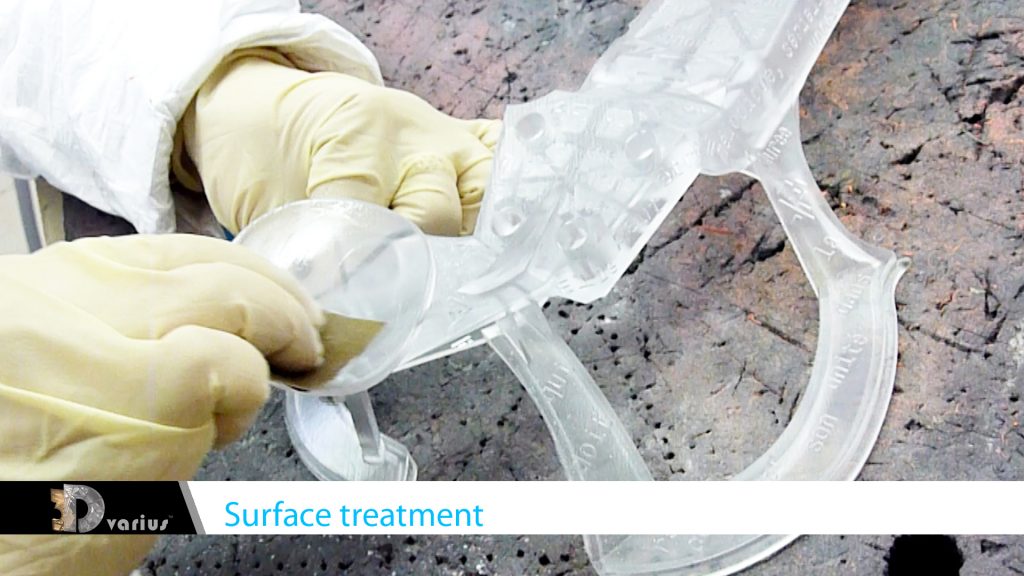
After the 3D-printing, all the excess resin from the printing stage is manually removed and the body of the instrument is cleaned with a special cleaning solution and high pressure blowing.
A lot of post-treatments are realized to ensure proper resistance to the strings’ pressure and protect the instrument from external harm.
Surfaces in contact with the strings and the musician’s body are sanded with extreme precision to ensure sound purity and offer optimal playing comfort.
Final assembly
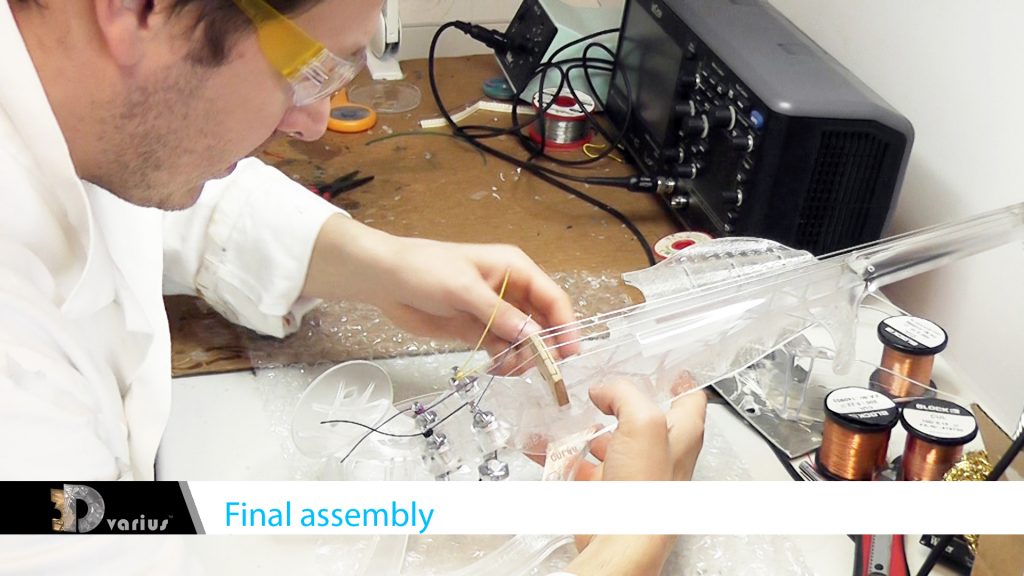
This is the most delicate step, as it is the first time when the structure of the violin is subjected to actual string pressure.
The stringing and tuning must be done progressively and be perfectly symmetrical to attain the perfect chord.
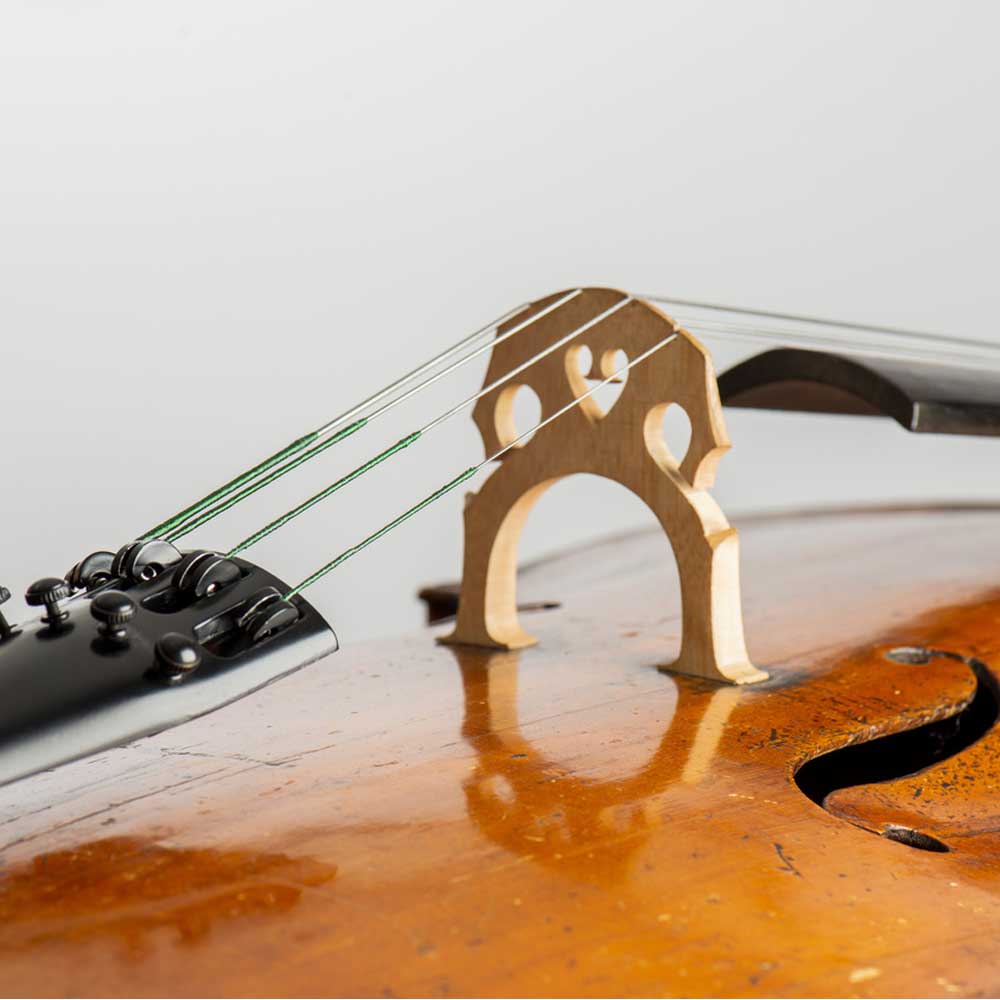
We insert and prepare all violin parts: bridge, jack, tuning pegs, strings, etc.

