When to change the strings of your violin?
As with any instrument, the strings of a violin wear out as time goes by. This can be accentuated by a regular practice or an improper storage of the instrument. The strings can then oxidize and break.
In this case, changing the strings is mandatory in order to preserve the sound quality of your instrument.
If the string is merely worn, it is up to you to determine if the sound produced is still good or if it is time to replace it. A worn string is easily identified by its sound and condition. It will have a thinner appearance where you put your bow to play, and will be less regular to the naked eye…
Change the strings one after the other
A simple rule to follow each time will be to change one string after another. You must never remove all the strings at once and then consider putting them back.
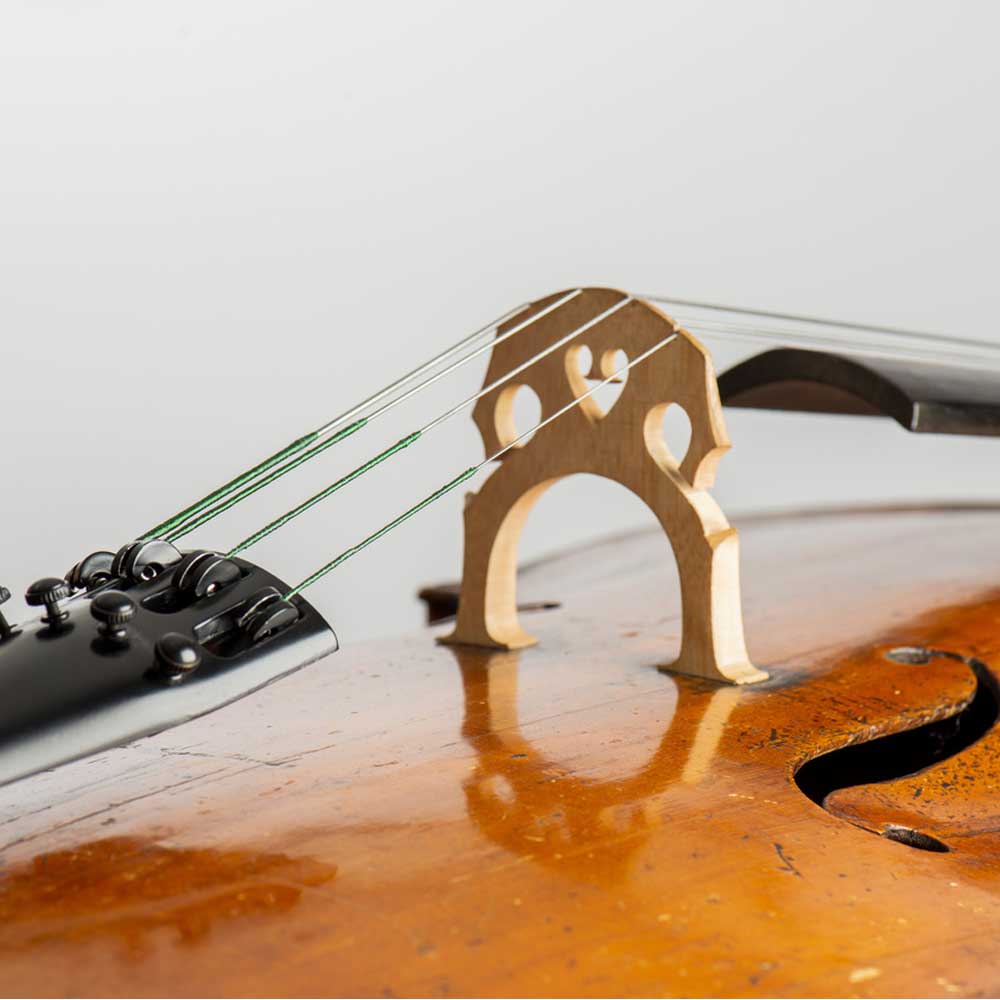
If you remove all the strings, the bridge can move or fall, and you will then experience difficulties when trying to put all the elements back in place. By removing each string one after the other, you will leave a permanent tension on the bridge and avoid moving it. This also helps to preserve the tension, created by the strings, that the body of your violin undergoes.
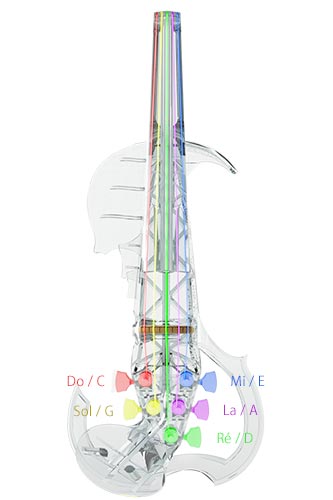
Here are the strings available for a 4- and 5-string model. The first string mentioned will always be the lowest and is located at the left of your bridge.
- DO or C String (only on the 5-string violin)
- SOL or G String
- RE or D String
- LA or A String
- MI or E String
Differences between a classical violin and an electric one
Replacing the strings of a classical violin is different from the procedure in an electric violin since the components involved are different.
Discover all differences between an acoustic violin and an electric violin.
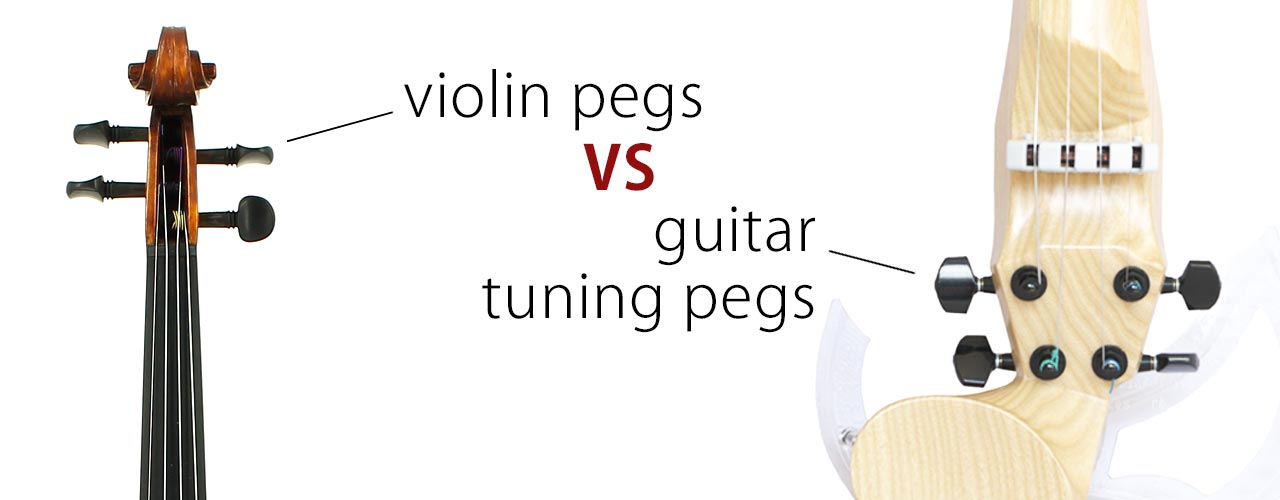
Guitar tuning pegs VS Classical pegs
All our electric violins use guitar tuning pegs instead of traditional acoustic violin pegs. These tuning pegs were chosen for several reasons.
- String tuning is simplified and longer lasting.
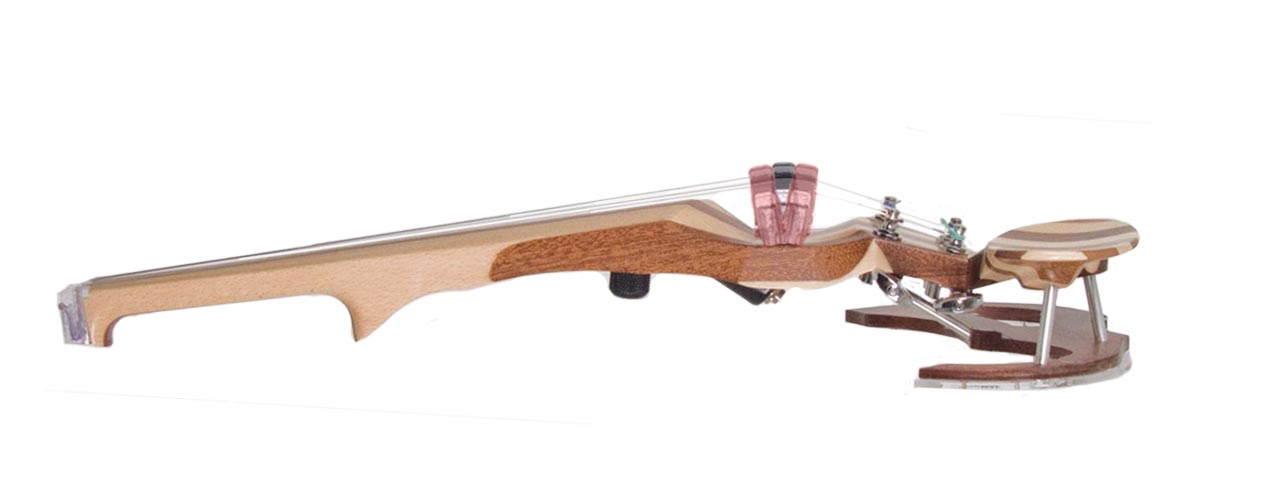
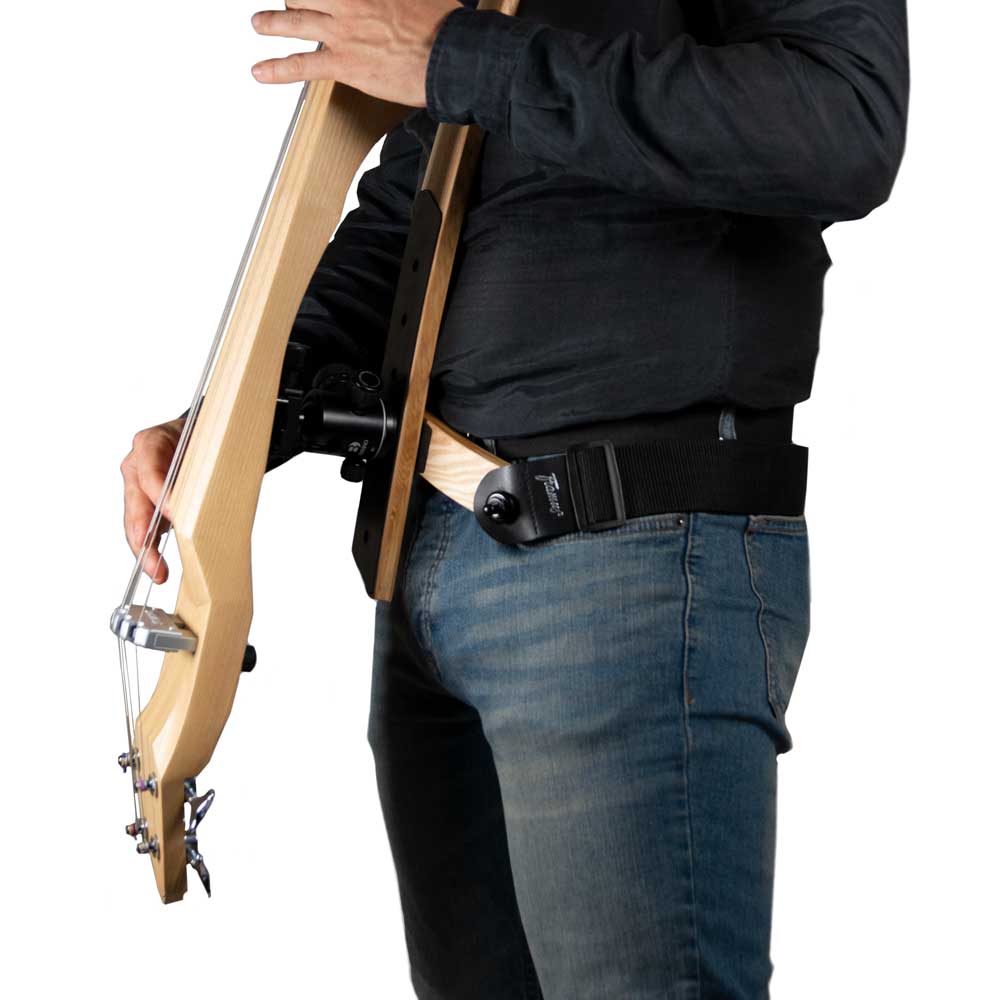
- On our electric violins, the violin pegbox has been moved to the bottom of the instrument in order to redistribute the weight of the instrument. It was impossible to use acoustic violin tuning peg for this purpose.
- Another special feature of the 3Dvarius electric violins is that they only use ball-end strings. Other types of strings are not compatible.
What are the steps to change the strings of an electric violin or an acoustic one?
For an acoustic violin
- Loosen the tuning peg that holds the old string by turning it. Then remove the string.
- Put the string into the hole of the tuning peg
- Before tightening the string, be sure that it is winding in the right direction! The tuning peg must always be turned in the direction opposite to yours. If a string is winded in the wrong direction, it will be likely to break! You should also pay attention to the area where you are going to wind the string around the tuning peg. Wind it as close as possible to the edge of the pegbox of your violin to ensure that it is properly attached.
- Turn the tuning peg to cause an initial tension. Use both hands to hold it in place while turning the tuning peg.
- Insert the ball-end tip into the tailpiece and finish the tightening. Do not overstretch it. At the same time, check that the string is properly inserted into the nut and positioned in the right place on your bridge. An improper positioning would be disastrous when tightening your string, in such case the string is likely to break. Note that many luthiers “grease” the passage of the string at the level of the nut with a grey lead pencil.
- Once the tension is appropriate, you can start tuning.
Repeat this process for each string.
For an electric violin
Remove the old string
- Loosen the string until the end by turning the corresponding tuning peg
- Release the string from the tuning
- Remove the string from the top of the instrument by pulling on the ball-end.
- If, when pushing, the string does not move, grab it on the upper part of the neck with a non-sharp object such as the tip of a small pair of scissors or tweezers.
- Then grab the ball-end of the string and pull it out. It is possible that the tension of the string has pressed the ball-end, so pulling it might result difficult. In this case, use the tip of a small pair of scissors to grab it and pull it.

Put a new string
We remind you that the 3Dvarius electric violins are only compatible with ball-end strings. Before buying your strings, check that they have the words “ball-end strings”.
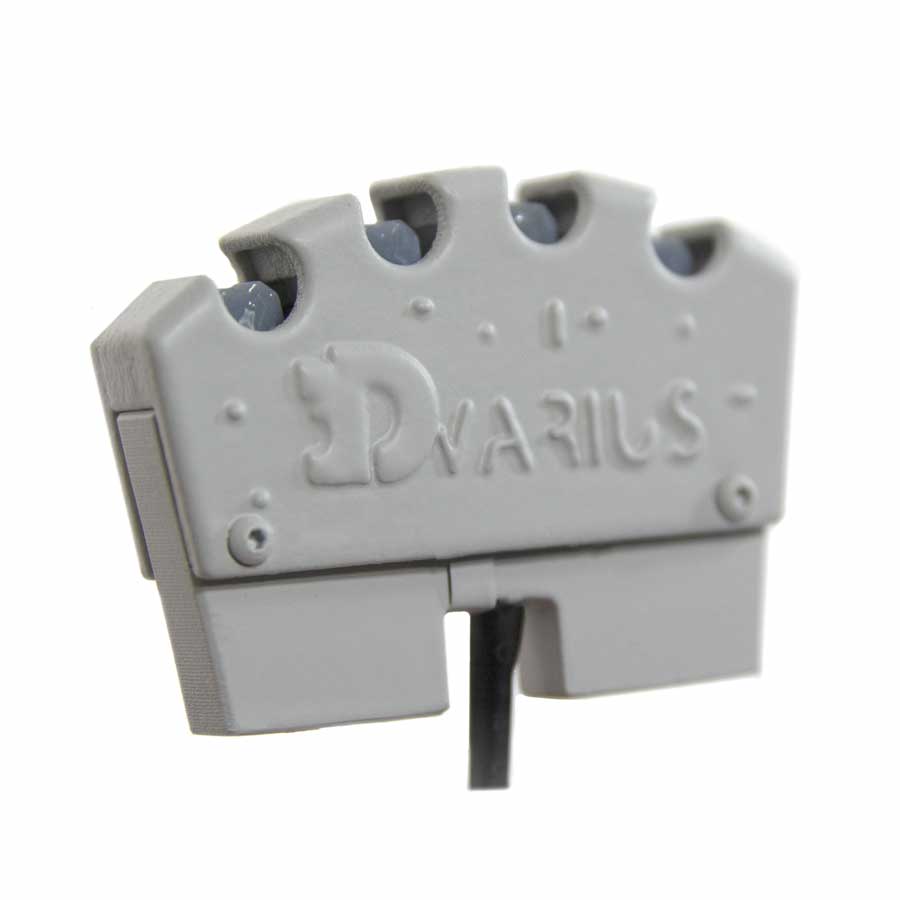
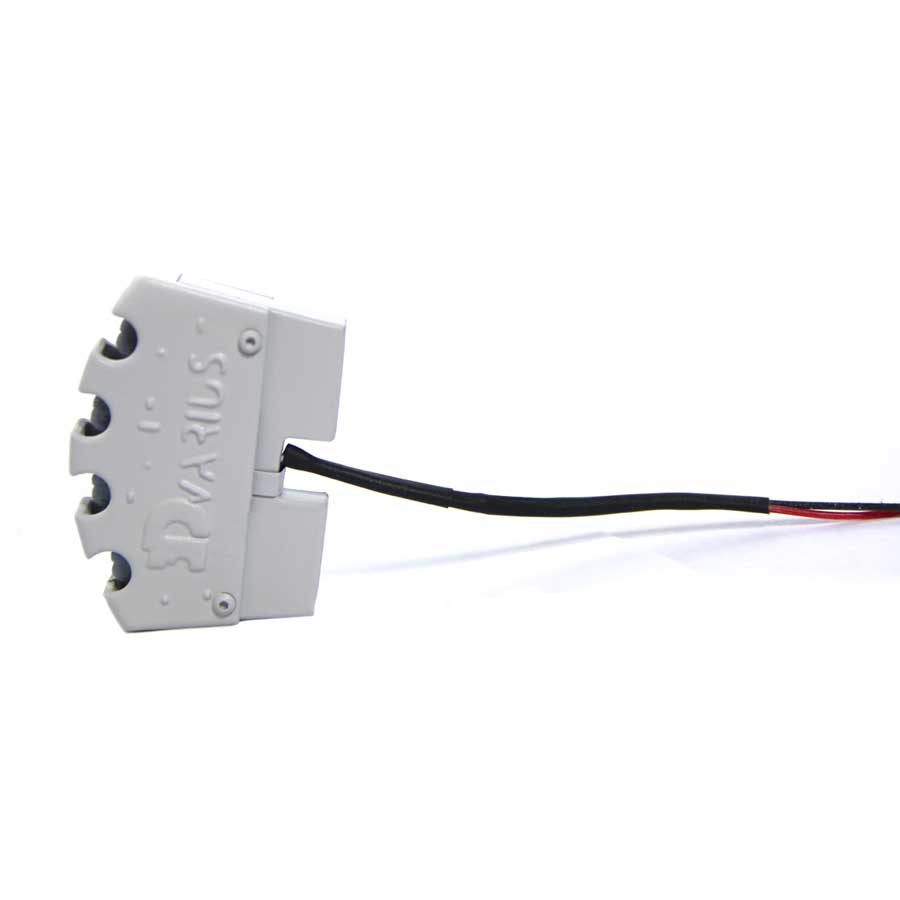
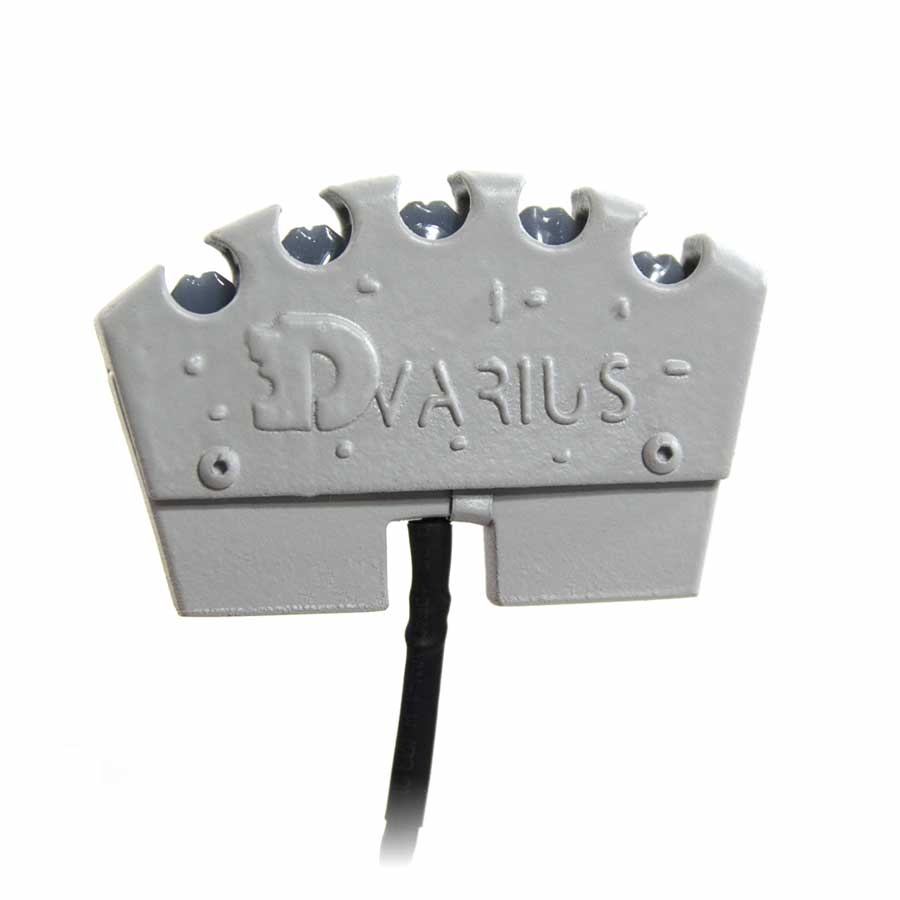
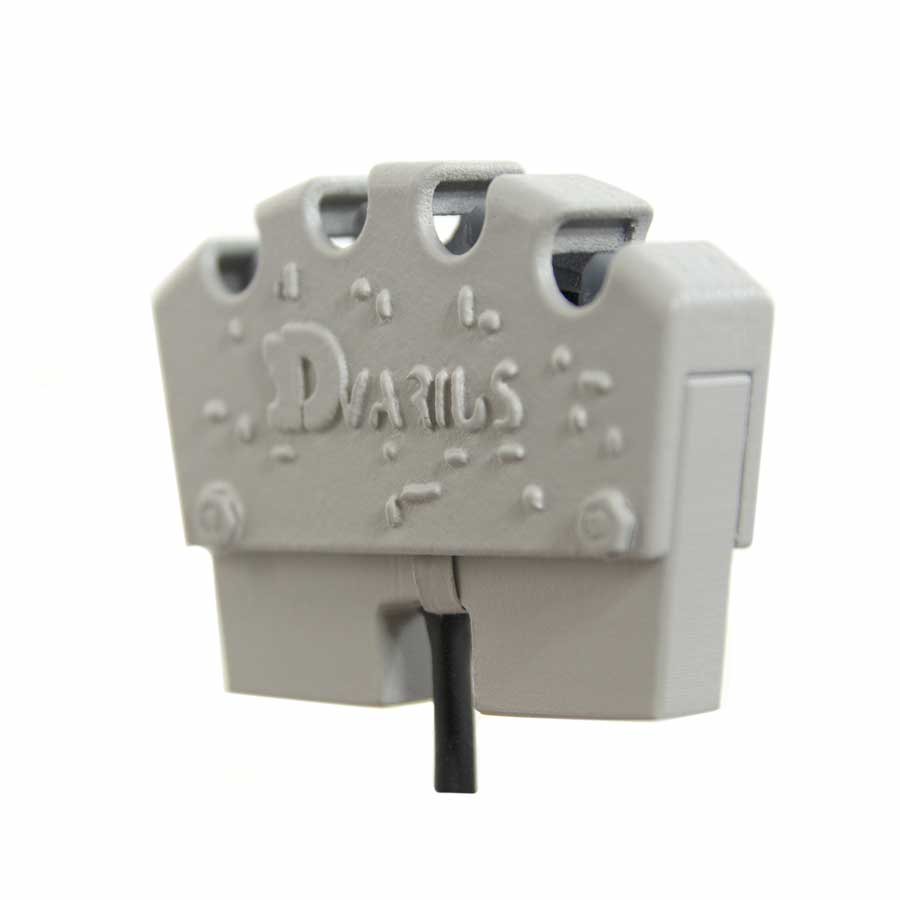
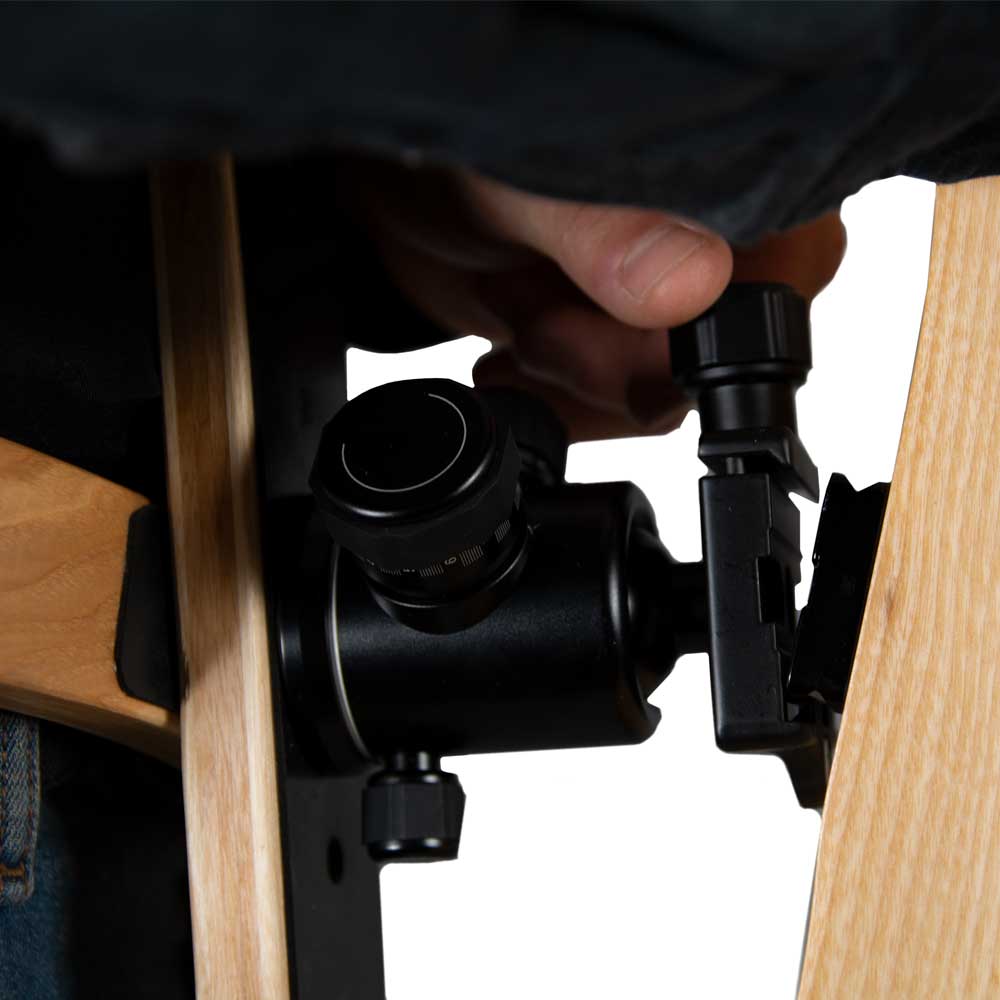
- Thread the string into the instrument pegbox until the ball-end gets in contact with the back of the violin’s neck. Make sure to place the ball-end in the slot provided for this purpose.
- Place the free end of the string in the upper slot of the guitar’s tuning pegs, making sure to leave a 3-finger space between the end of the tensioned string and the tuning peg. This allows the tightening of the string over a great length.
- Push the 3-finger space left towards the handle. To prevent the string from moving and to facilitate the tensioning, create a 90° angle with the remaining string end when it exits the tuning peg.
- Tighten the string progressively by turning the peg until you reach the desired note. Be careful with the rotation direction of the tuning pegs.
- When the tensioning is complete, take a graphite pencil (of the 2B kind) and lightly lubricate the ridge of the bridge that will fit the string. This facilitates the sliding of the string and eases the replacement of the bridge in case it moves.
- Before cutting the excess end of the string, check that the string is well placed on the ridge of the bridge. If necessary, replace it without forcing it. Finally, cut the excess end of the rope at the level of the tuning peg attachment using a wire cutter.
Repeat this process for each string.

To simplify changing the strings we have made an explanatory video detailing each step.
New strings tend to move, you will probably need to re-tune your violin the first days. Above all, do not stretch your new strings excessively, that will not solve the problem. On the contrary, you risk damaging them or even breaking them.
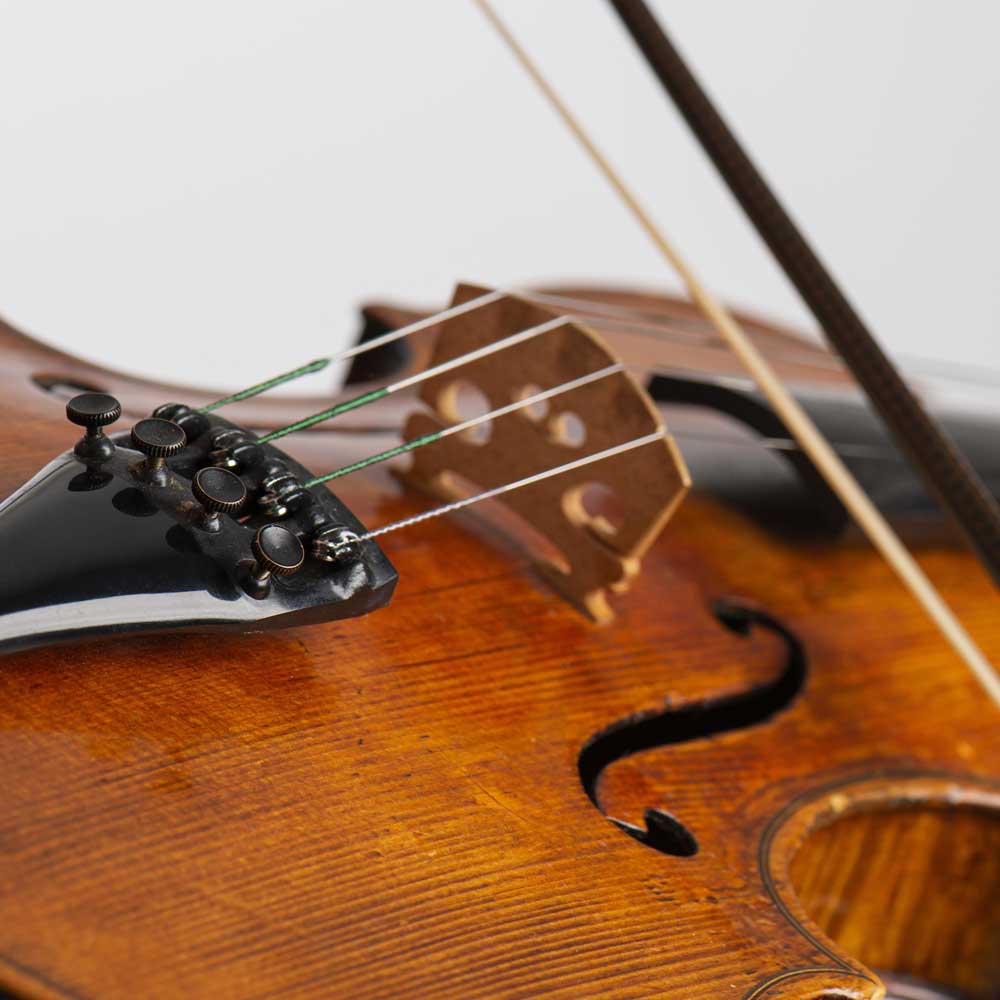
Check the position of the bridge
Once all the strings have been replaced, make sure that the bridge has well kept its upright position. It may slightly tilt forward or back when changing the strings. To ensure excellent sound, the bridge must always be placed vertically to the body of a classic or electric violin.
To determine whether the position of the bridge is the correct one, look at its position from above or from the side. If it leans forwards or backwards, it needs to be replaced.
Refer to our tutorial in order to properly straighten the bridge of your violin.


